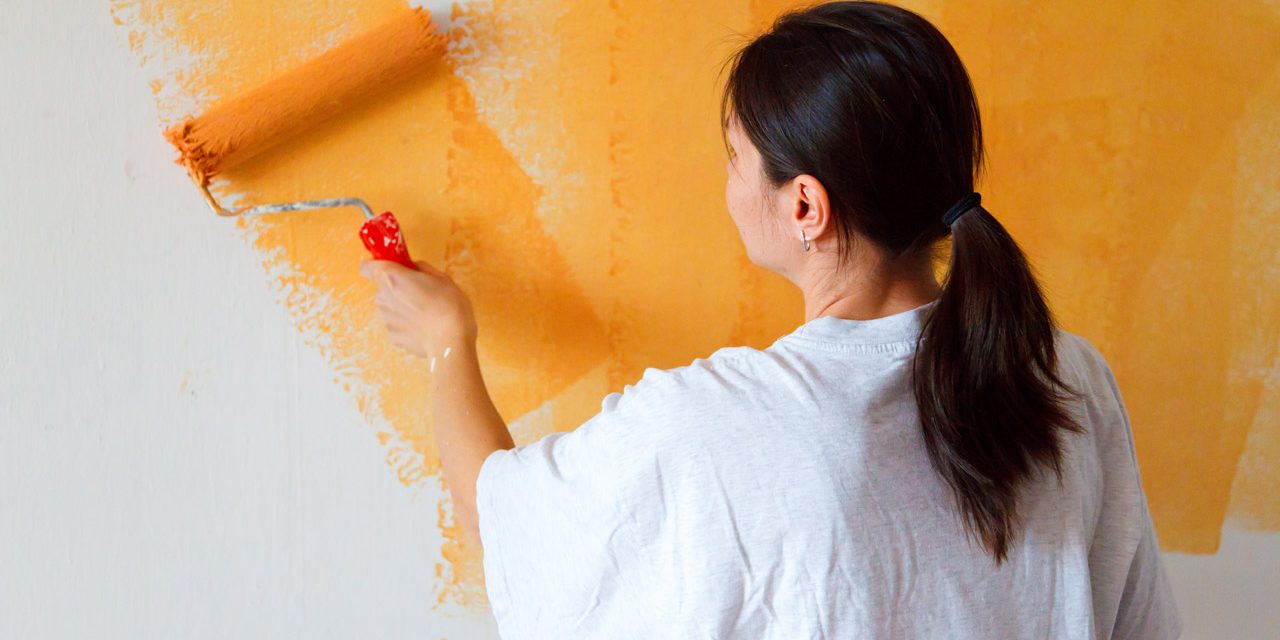
Painting your bedroom walls can give the room a fresh look and feel. Here’s a step-by-step guide to help you paint your bedroom walls like a pro:
Materials Needed:
- Paint (choose the desired color and finish)
- Paint primer (if needed)
- Paint rollers (with roller covers)
- Paint brushes (for cutting in and detail work)
- Paint tray
- Painter’s tape
- Drop cloths or plastic sheeting
- Sandpaper (fine grit)
- Spackling compound and putty knife (for repairing holes)
- Ladder or step stool
- Stir sticks
- Rags for cleaning
Step-by-Step Guide:
Step 1: Choose the Paint
- Color: Pick a color that complements your room’s design. Test a small sample on the wall to see how it looks at different times of day.
- Finish: Choose the right finish based on your preference:
- Matte/flat: Best for low-traffic areas; hides imperfections.
- Eggshell or satin: Durable and has a slight sheen.
- Semi-gloss: Reflective and easy to clean; good for trim or high-traffic areas.
Step 2: Prepare the Room
- Remove furniture or move it to the center of the room and cover it with a drop cloth.
- Lay drop cloths or plastic sheeting on the floor to protect against drips.
- Remove wall decorations (pictures, mirrors) and electrical covers (outlet/switch plates).
- Use painter’s tape to mask off areas like the ceiling, baseboards, window trim, and door frames.
Step 3: Repair and Clean the Walls
- Fill holes or cracks: Use spackling compound to fill any holes or imperfections in the walls. Smooth with a putty knife and let it dry. Sand the patches until smooth.
- Clean the walls: Wipe the walls with a damp cloth to remove dust, dirt, or grease. This ensures better paint adhesion.
Step 4: Prime the Walls (If Needed)
- If you’re painting over a darker color or if your walls have stains, it’s best to use a paint primer. This will help the new paint color stand out and adhere better.
- Use a paint roller to apply primer evenly across the walls, and a brush to cut in around the edges. Allow the primer to dry according to the manufacturer’s instructions.
Step 5: Start Painting
-
Cut in around edges:
- Use a paintbrush to cut in around the edges (where the walls meet the ceiling, corners, and around doors/windows). This creates clean lines and ensures you cover areas that a roller can’t reach.
- Work in small sections, about 2-3 feet at a time, and overlap slightly with the roller areas to blend seamlessly.
-
Roll the walls:
- Pour paint into a paint tray and load the roller with paint (but avoid overloading).
- Roll the paint onto the wall in a “W” or “M” pattern, then fill in the gaps. This method helps spread the paint evenly.
- Work in small sections, and overlap slightly with adjacent areas to avoid visible lines.
- Apply a second coat if needed after the first one dries.
Step 6: Let the Paint Dry
- Let the paint dry according to the manufacturer’s instructions. If applying a second coat, ensure the first coat is completely dry before continuing.
Step 7: Remove Painter’s Tape
- After the paint has dried (but before it’s fully cured), carefully remove the painter’s tape from the trim and other masked areas. Pull the tape off at a 45-degree angle to avoid peeling the paint.
Step 8: Clean Up
- Clean your brushes, rollers, and trays with warm soapy water if using water-based paint (latex) or paint thinner if using oil-based paint.
- Remove the drop cloths, and put the furniture and decorations back in place once the walls are fully dry.
Step 9: Touch-ups
- Check for any spots you may have missed or paint drips and fix them with a small brush.
Tips:
- Work from top to bottom, starting with the ceiling (if painting) and then the walls.
- Use natural light or plenty of room lighting to ensure you don’t miss any spots.
- Use light, even coats to avoid drips and streaks.
By following these steps, you’ll give your bedroom a fresh, professional-looking paint job!


